Develop with VS Code
Install VS Code
VS Code is a code editor to build and debug apps.
- VS Code,the latest version
Install clx-language extension
Go to VS Code.
You can also press Ctrl / Cmd + Shift + U.
Go to View > Command Palette…。
You can also press Ctrl / Cmd + Shift + P.
Type "install", select Extensions: Install Extensions.
Type "clx" or "coloplay" in the extension search input box, then select clx-language from the list and click Install.
Click Reload to Activate to restart VS Code.
You can use this extension to develop CLX programs based on LUA extended syntax, which can be run on ColoPlay devices released by Lifesmart. This extension provides an environment related to development and debugging:
- CLX syntax highlighting, syntax hints
- ColoX related interface tips
- Compile files and run them in ColoX emulator
- Breakpoints debugging
Extension environment
This extension currently only supports Win32 and OSX environments, and you need to pre-configure the JAVA_HOME environment, currently supports Java11 and above, if you do not want to modify the system environment in the original JAVA_HOME variable, you can also modify the extension related configuration items
Extension configuration items
Select debugger,this plugin has two built-in emulator programs, ColoPlay and Nature.
- Default, this plugin will select the device specification according to the first line of the file (recommended)
- Natur, will unconditionally use the Nature emulator program (win32 is not supported for the time being)
- Custom, according to the configuration item Custom debugger path to use the user-specified program (general users do not need to use)
Custom debugger path, user-specified emulator program path
JAVA_HOME, the custom configuration item mentioned in the above runtime environment.
Usage
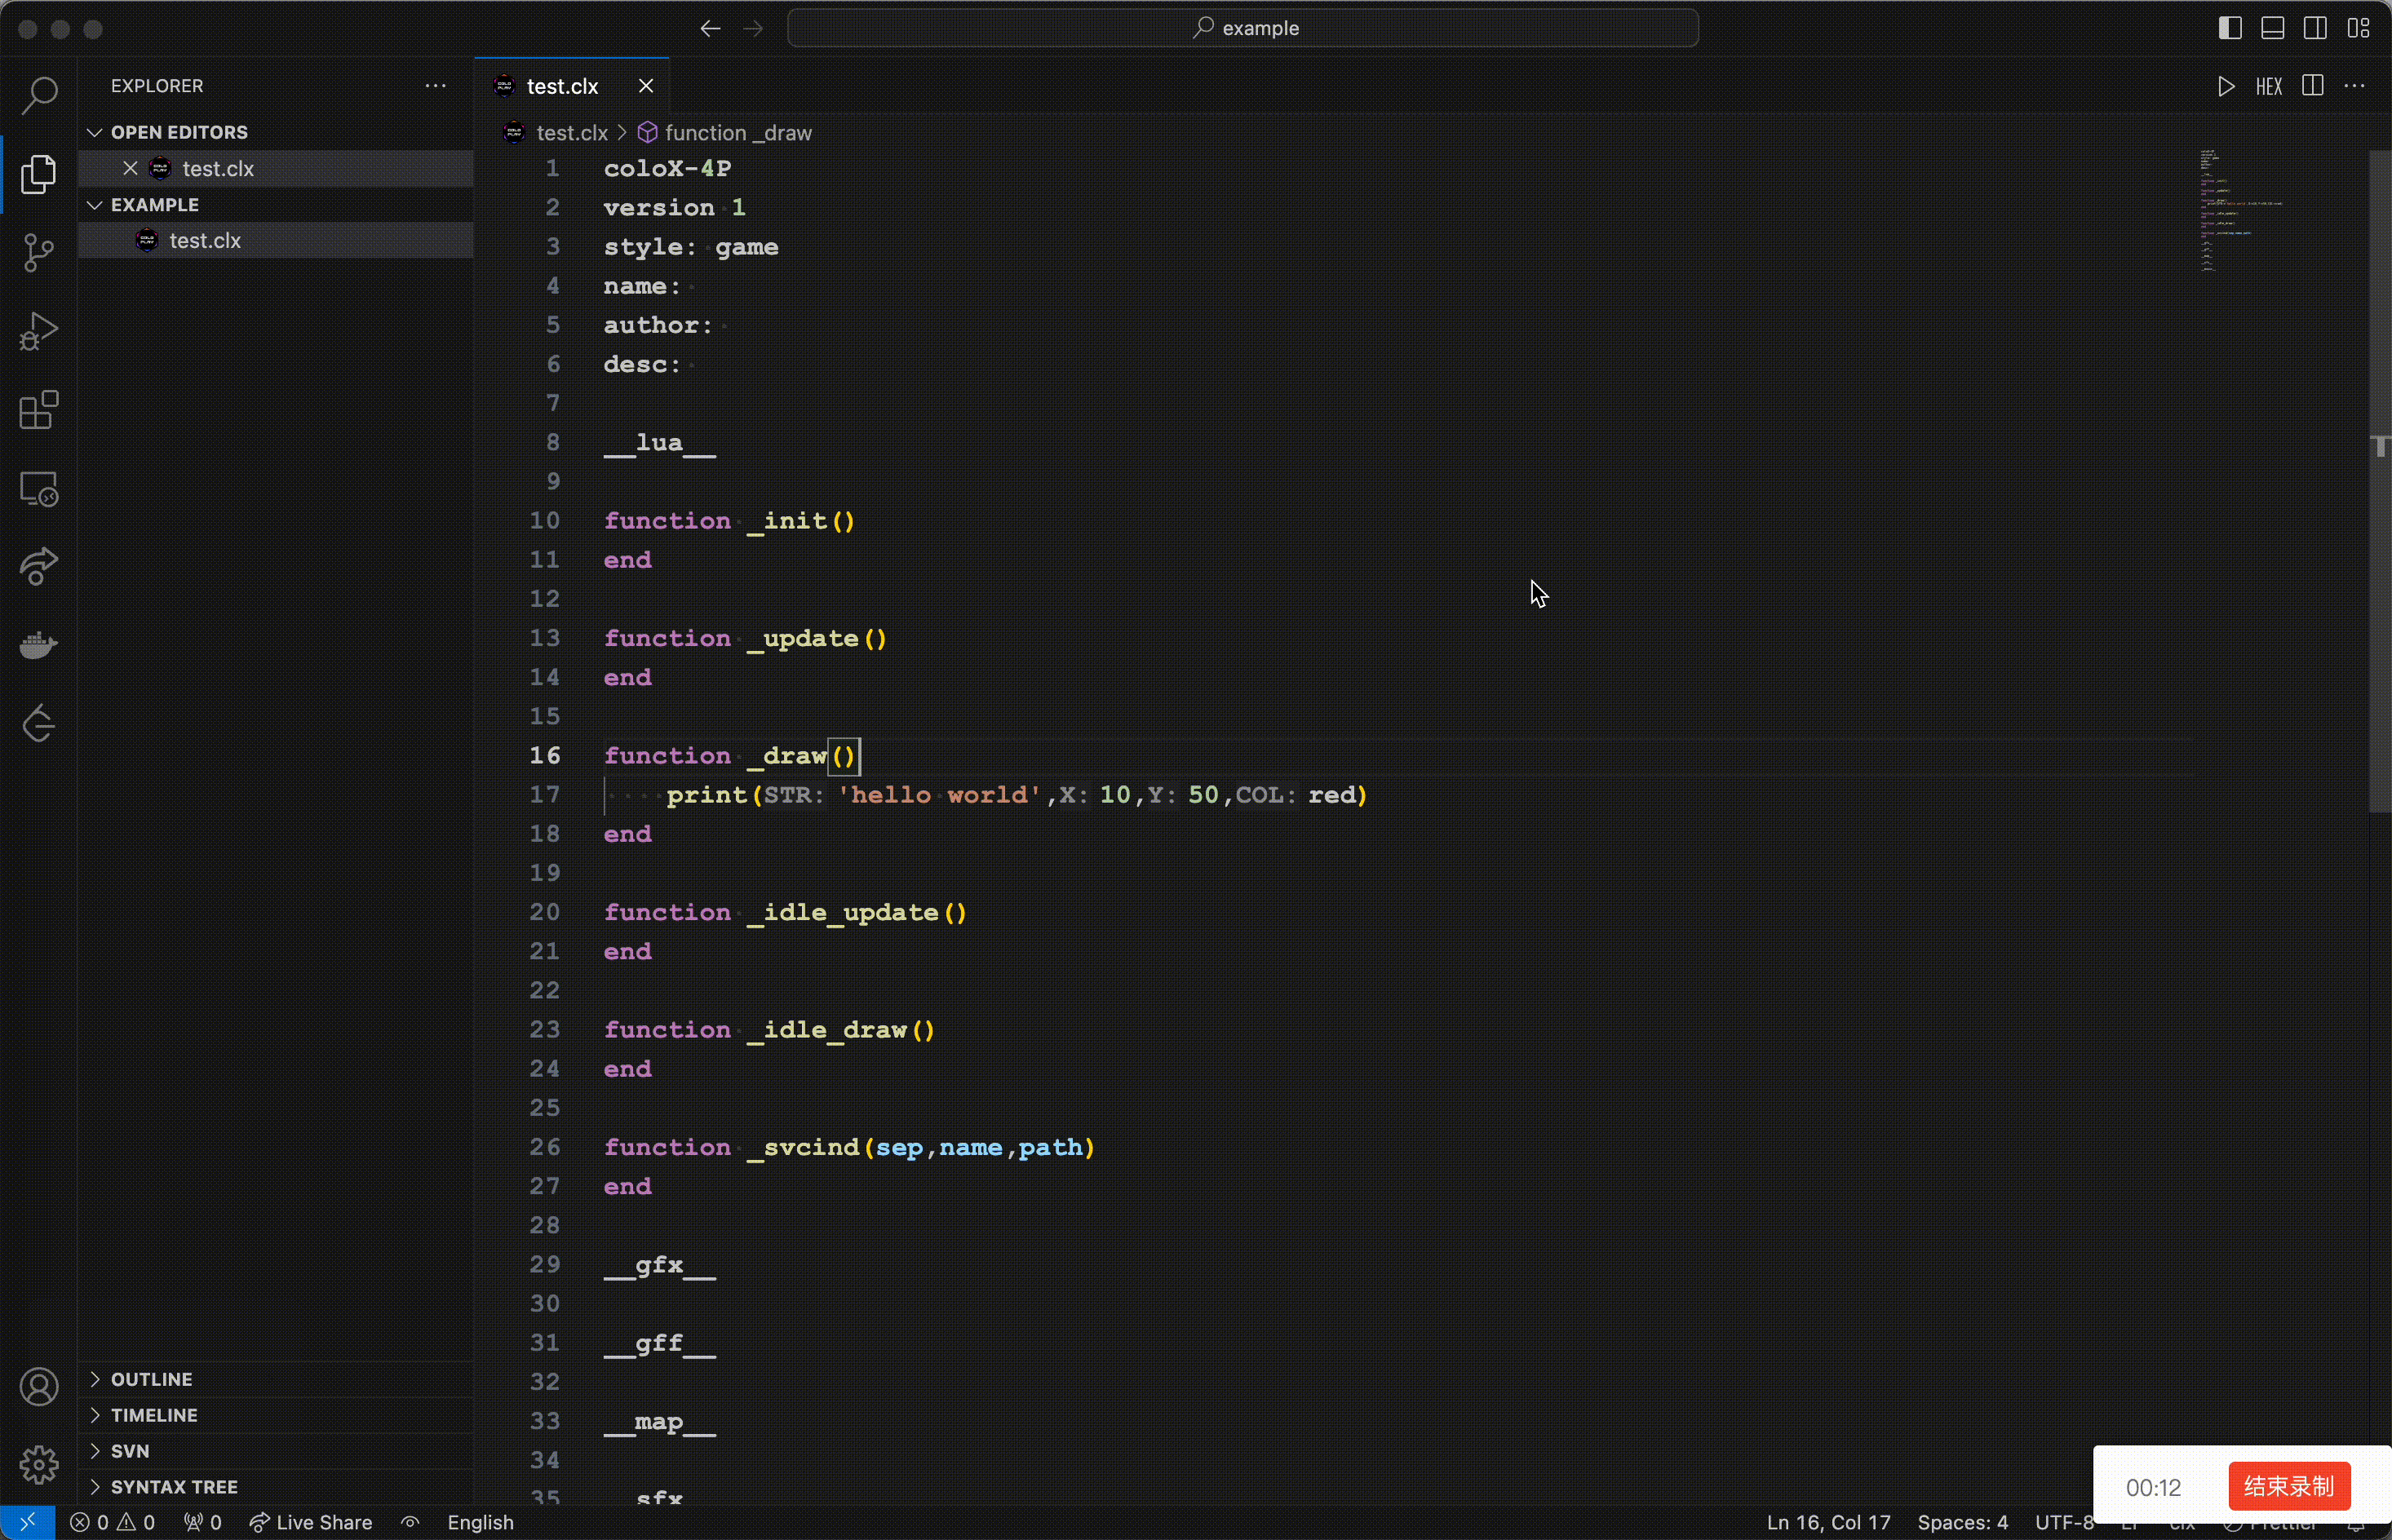
Create
To create a new file with a clx suffix, you can type "template" and the plugin will prompt for the built-in initial template for the application
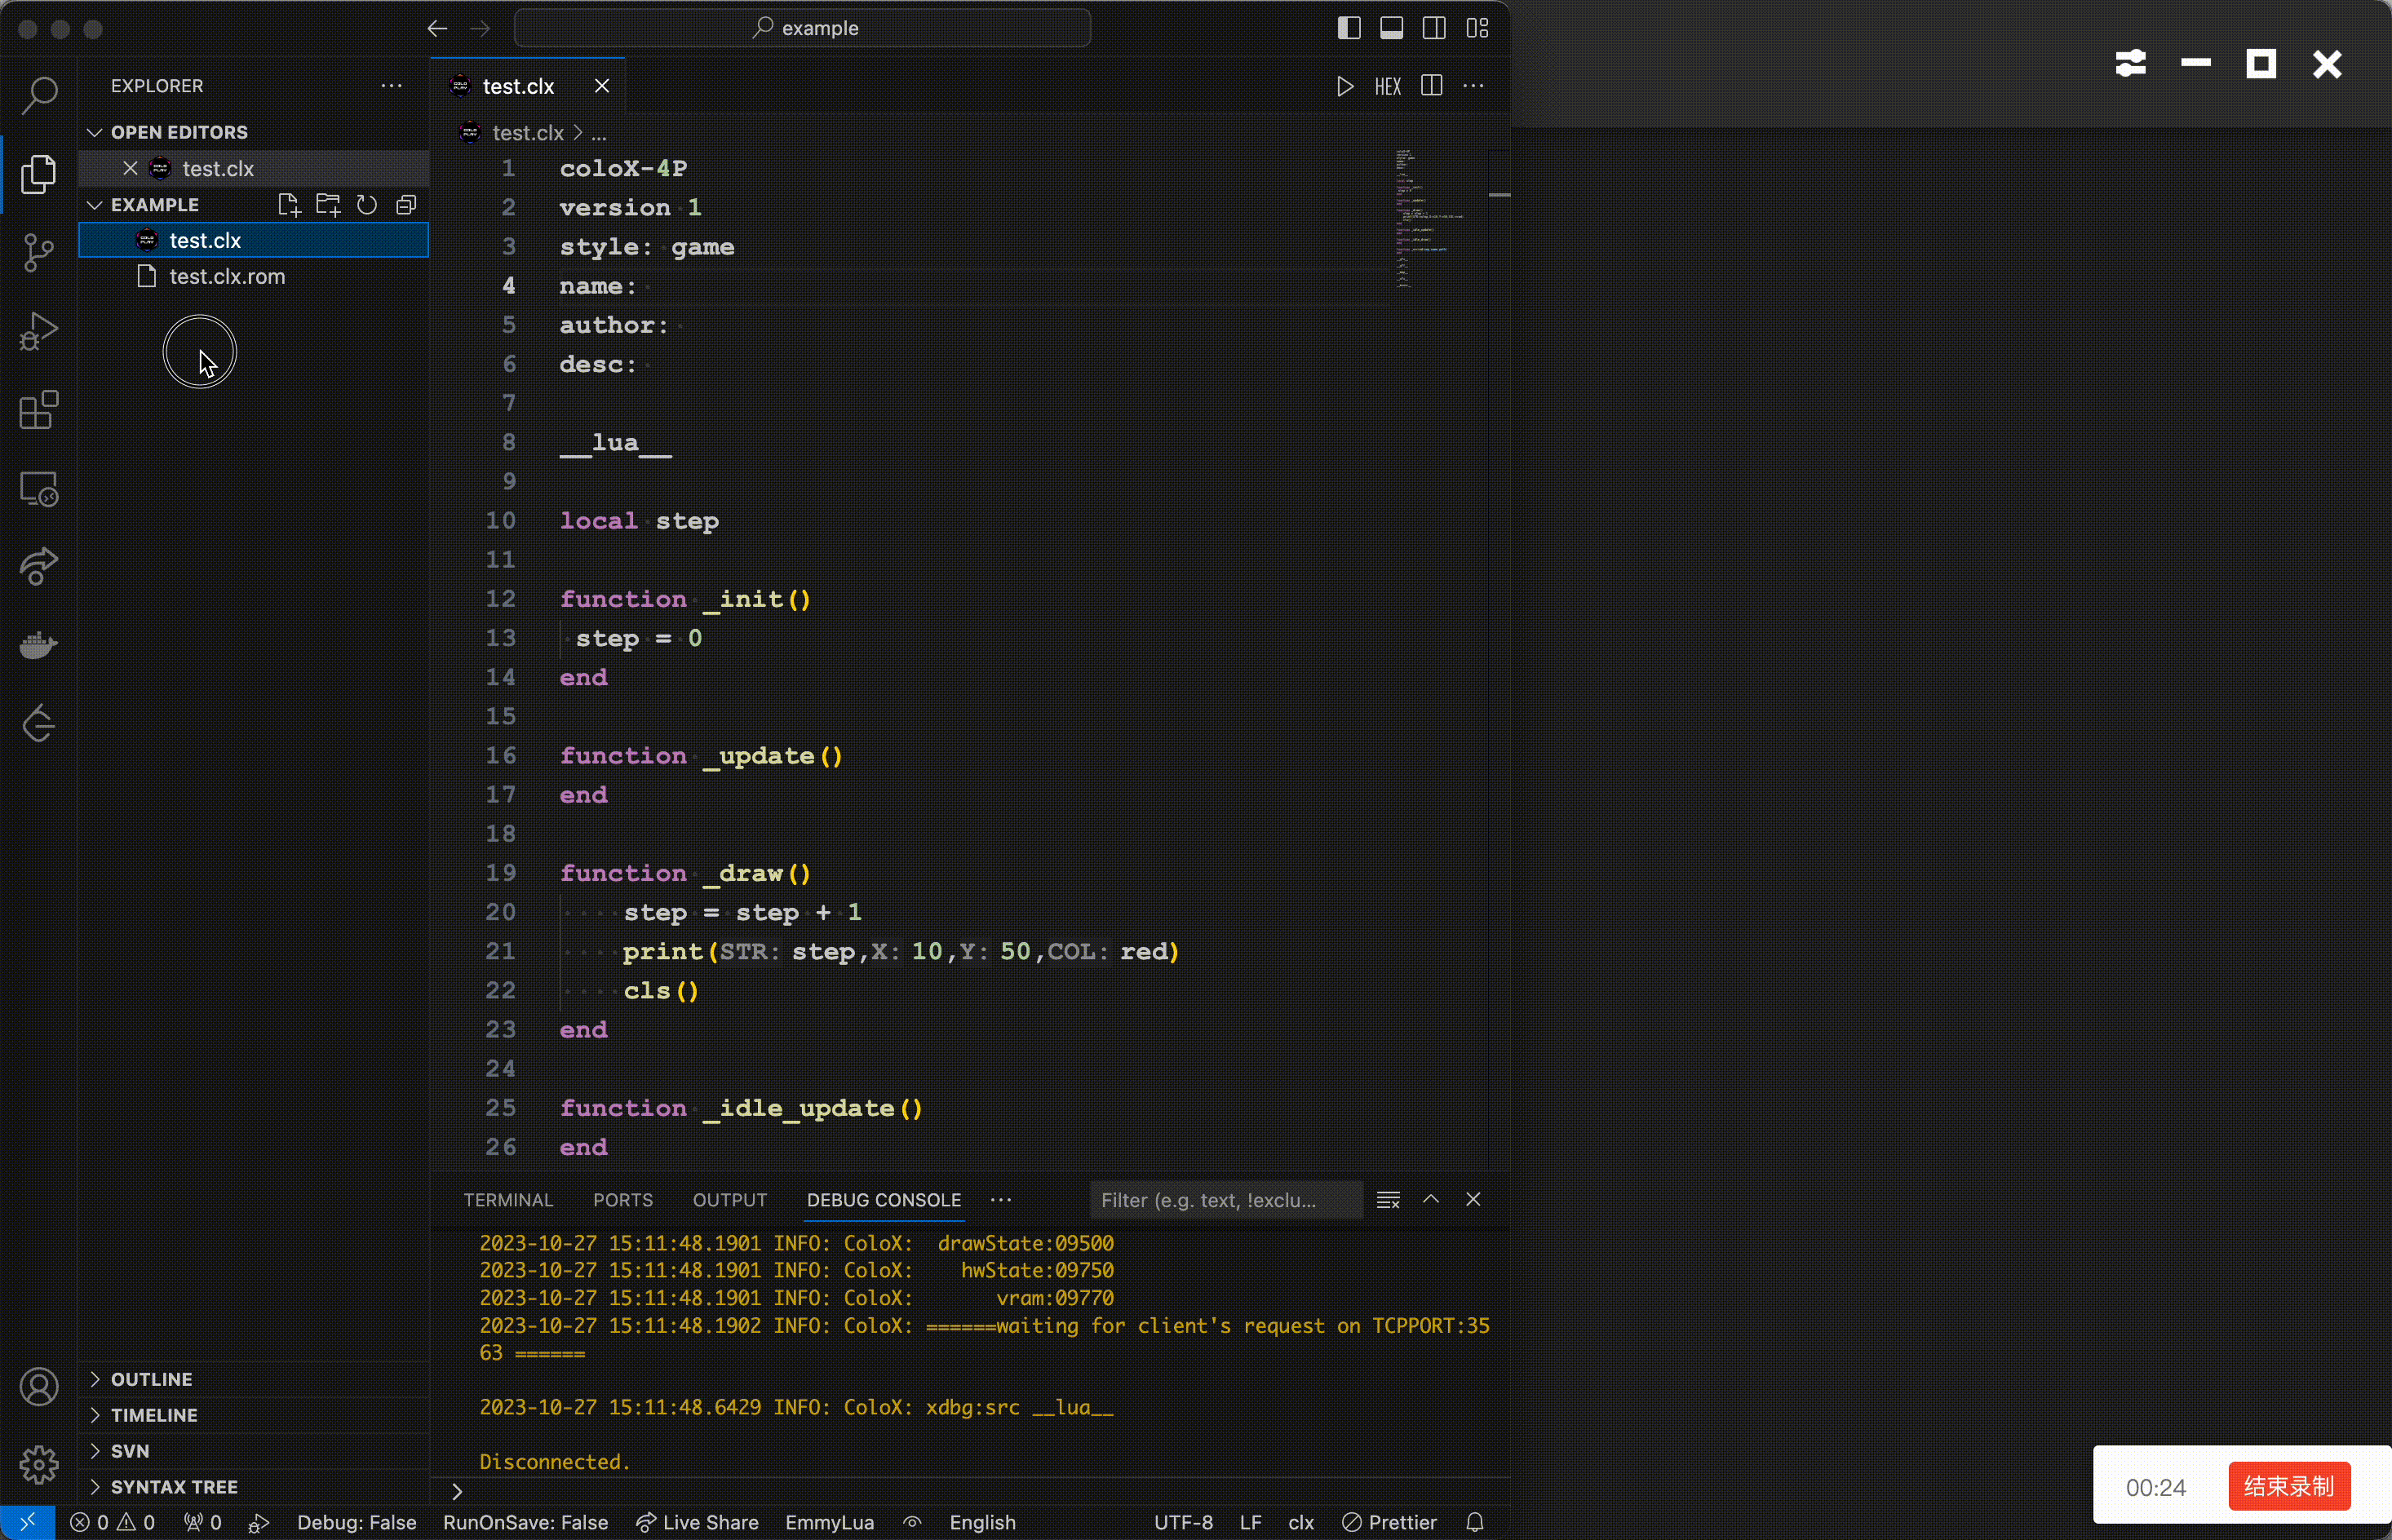
Run the file in the emulator
When the mouse focus is on the clx file, click the Run button in the upper right corner (you can also use the F5 shortcut key) to run the file, you can open the emulator and run the file, and at the same time, it will generate a rom file in the same directory.
Debugging
The simulator has a built-in debugger, and this plugin provides simple breakpoint and command line debugging functions
- Switch to Debug in the left column.
- Clicking on Run and Debug will start the simulator and open a new file called debug_temp.clx, which contains all the code contained in the lua area.
- debugging with breakpoints based on debug_temp.clx file
- you can also do command line debugging in DEBUG CONSOLE, type help to see the help.